
As a Travel & Landscape photographer, with a preference for the versatility of zoom lenses, the XF10-24 f4 is one of my most used and favourite lenses.
Launched in 2013, I bought my copy in 2014 and it’s served me really well ever since. Its relatively light weight, constant f4 aperture and performance has never caused me to question its inclusion in my bag. Therefore, although no spring chicken, it was slightly surprising to hear that Fujifilm was upgrading the lens with some welcome improvements.
I am grateful to Fujifilm UK for loaning me a pre-production model so I could put it through its paces and compare to the original model.
Before I go through the improvements I’ll explain what is unchanged from version 1.
The 10-24mm focal length, equivalent to 15-36 in the 35mm format, remains an ideal focal range for a super wide angle. The fairly fast aperture of f4 is retained throughout the focal range which means the lens is a perfect size and weight.
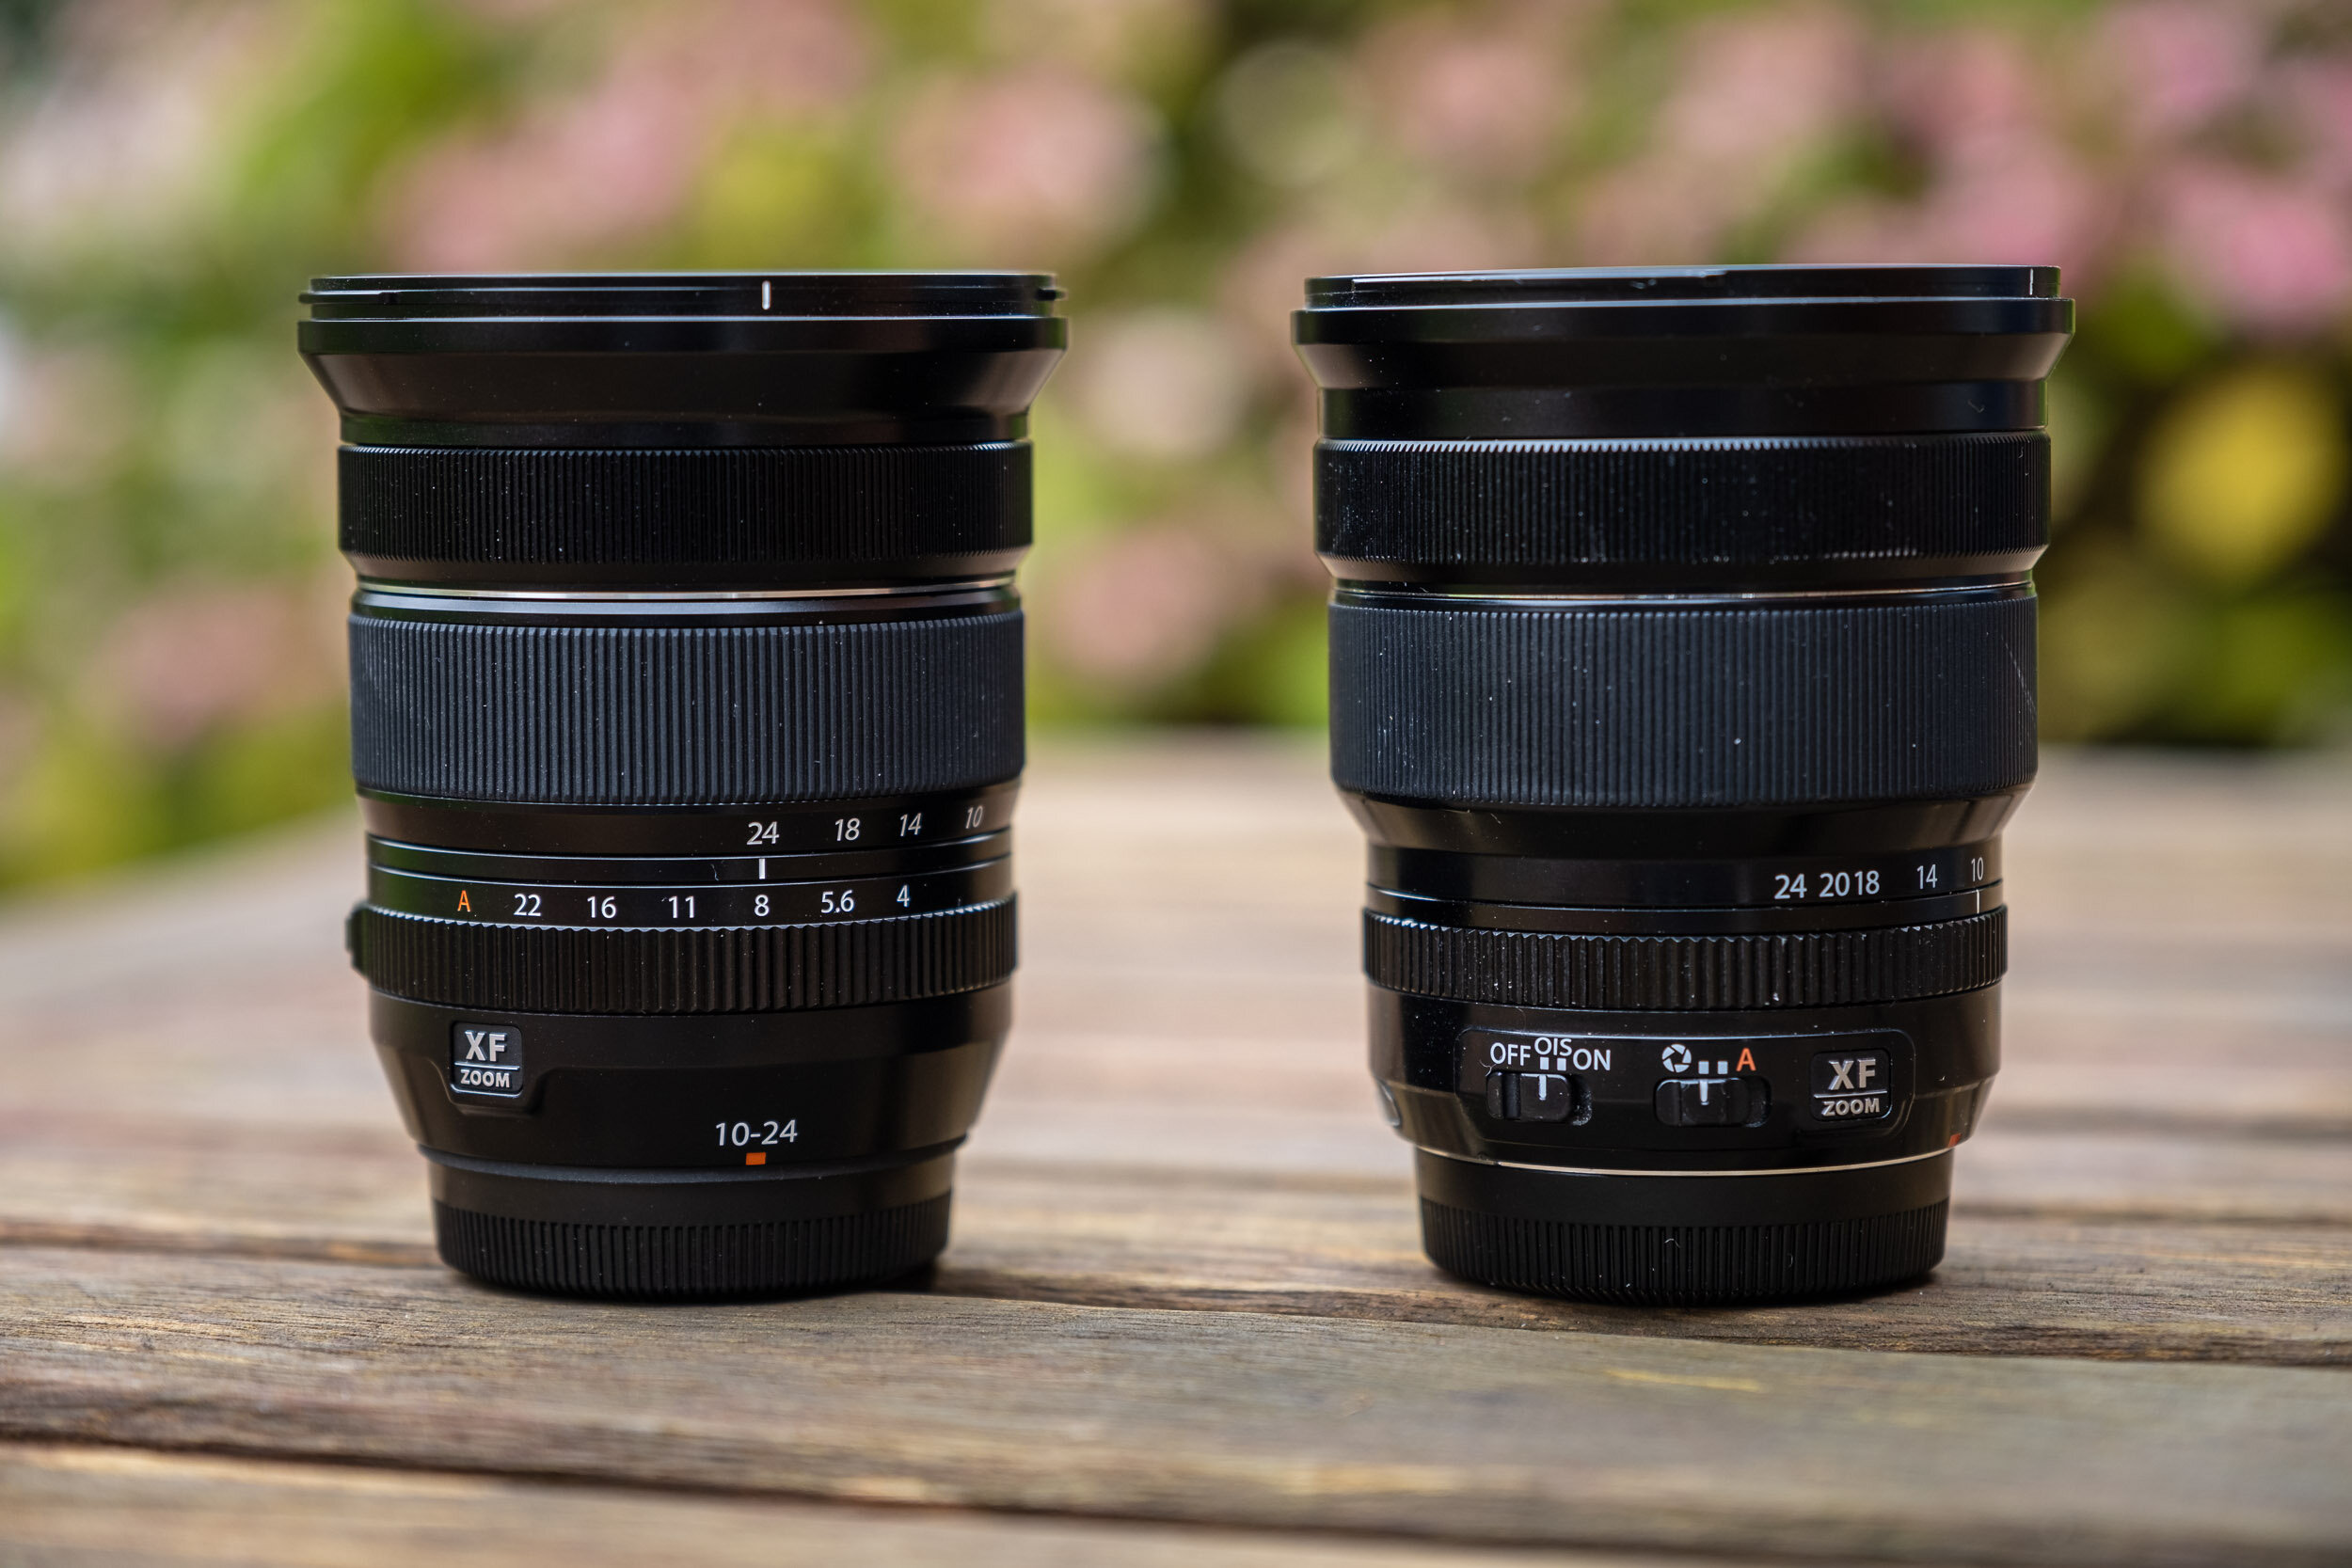
LEFT XF10-24 f4 OIS WR (NEW VERSION) | RIGHT XF10-24 f4 OIS
Whilst the “red badge” XF8-16 f2.8 is a stunning lens optically and weather resistant, it is much larger, heavier and cannot accommodate a standard filter system which makes it a no no for landscape and long exposure photography. So, for many, the XF10-24 is the super-wide solution.
Fujifilm have confirmed that, optically, the new lens remains unchanged which for most is acceptable as the original has been a popular, well performing lens. However, I can’t help thinking that Fujifilm has missed a trick to further improve, see my wish list below.
So, what are the improvements? The first, and most welcome to Landscape photographers, is the addition of WR to the nomenclature. This lens is now weather (dust and moisture) resistant and can operate to minus 10 degrees.
Pairing with an XT3 or XT4 makes it a great weather resistant combination. I can confirm from personal experience that the WR really works after my XT4 and original XF10-24 went for a swim in a stream I was photographing! Whilst the XT4 was pulled out and continued to perform faultlessly, the lens my original XF10-24 produced some lovely misty looking images! A night in the airing cupboard and a check over by Dr Fuji confirmed everything was well but maybe there was a message in that experience. Something or someone telling me you need to upgrade!
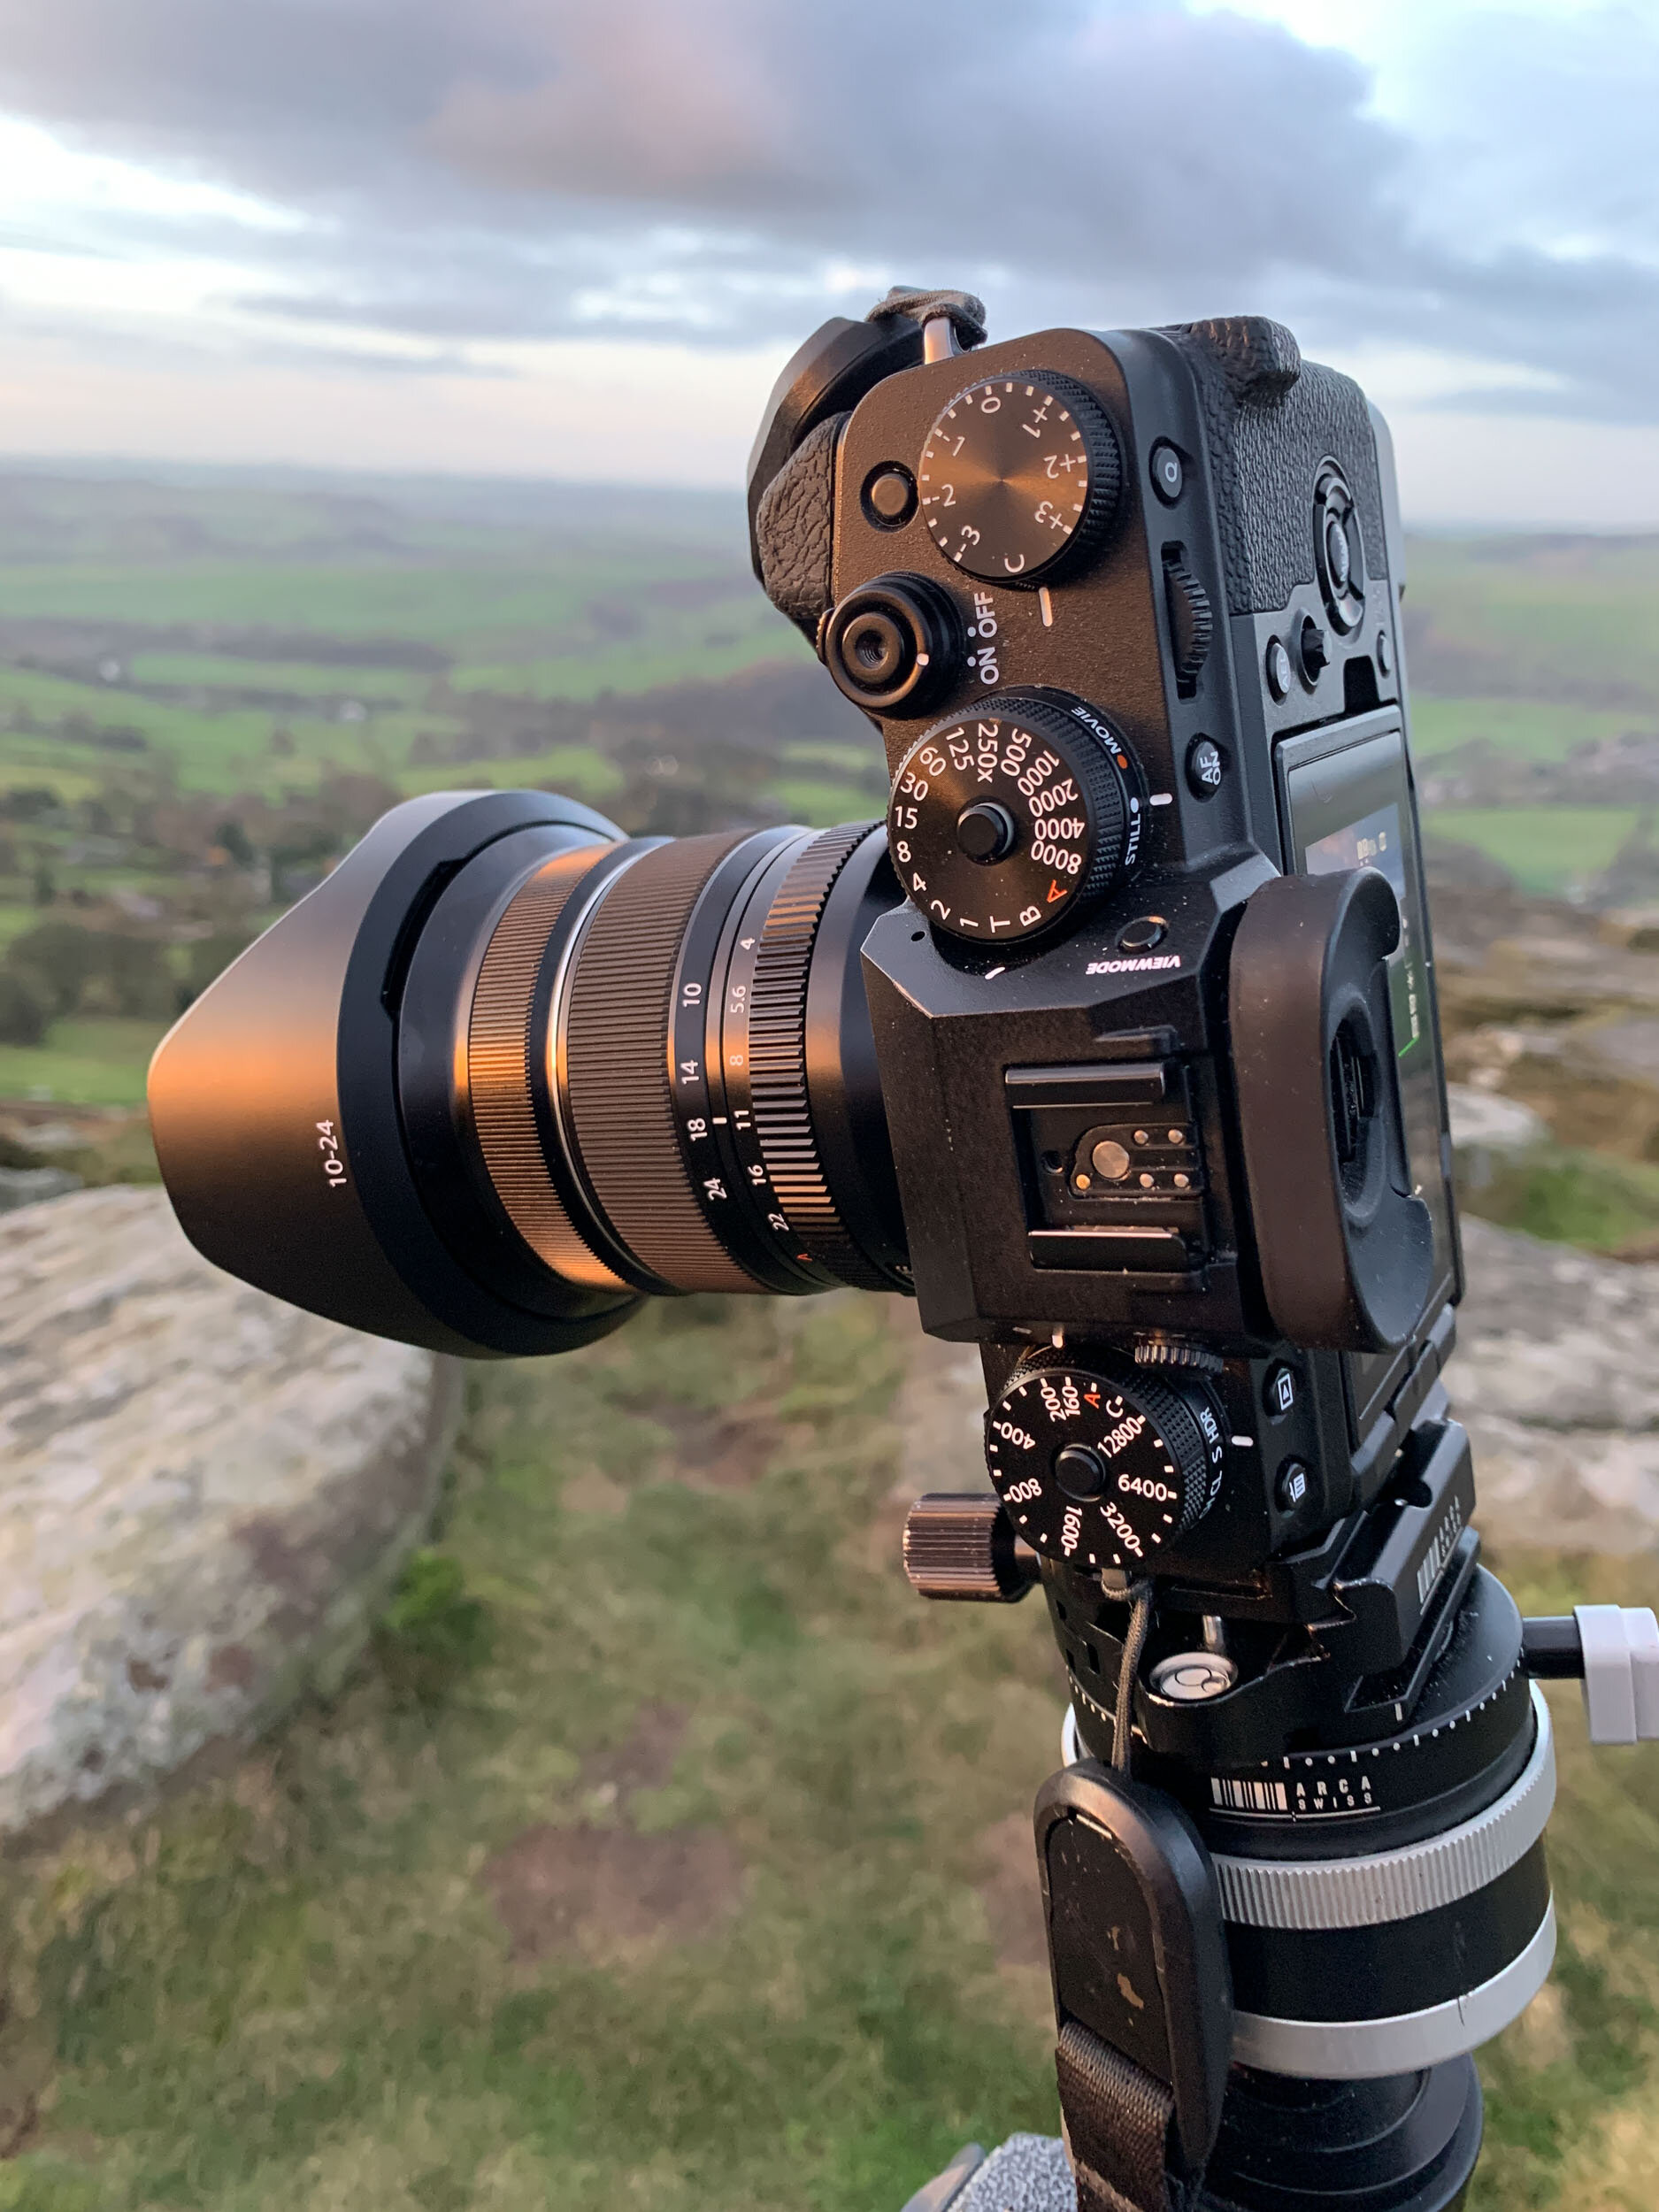
Another improvement is the f stop scale on the aperture ring allowing a visual check of the aperture selected without the need to check the EVF or LCD screen. An Auto lock button replaces the switch on the previous model.
But there are other improvements too. The Optical Image Stabilisation has been improved by 1 stop to -3.5 EV and when combined with XT4 this improves to -6.5 stops – pretty impressive.
The Auto Focus system has also been improved by using light weight focusing elements and as a result the AF is fast and near silent.
Finally, the lens is a tad lighter by 25g coming in at 385g. The filter thread remains the same at 72mm.
I found the lens very pleasant to use and I much preferred having the scale on the aperture ring. It felt smoother than my old lens but perhaps that’s psychological. The images produced were sharp, with good contrast levels and the usual great Fujifilm colour. In fact, although Fujifilm claim there is no difference optically, I found the new version to be sharper, especially in the corners from f4 to f8, though this might just be down to my lens.
Of course, we wouldn’t be human if we didn’t have a few niggling I wish’s and I have three.
I must admit to being slightly surprised that there were no optical improvements to the lens. Don’t get me wrong it is already a very good performer but the optics are 7 years old and with advances in sensor technology since then I feel that a tweak might have been in order.
One area where I have found the lens, or should I say my copy, to struggle is with flare. As I shoot a lot at sunrise and sunset, often shooting directly into the sun, my lens sometimes suffers flare, improvements in this area would have been appreciated.
My final wish would have been for the design of the lens to have been tweaked to avoid the problem that in certain lighting, the white writing on the lens bezel reflects back off filters and appears on the image. I know this is a bug bear with other photographers and it has been reported back to Fujifilm. Fortunately, there is a workaround either writing over the words with a Sharpie or, as I have done, covering up the writing with black electrical tape – an inelegant but practical solution.

So, overall it appears that Fujifilm have done a very good job with the upgrade with some tangible improvements. I’d say if you would benefit from weather resistance or find the lack of aperture markings an issue, then it’s definitely worth the upgrade. But if that’s not important then stick with version 1. If you’ve hankered after a super wide but are a little more budget conscious then look on the used sites because there are bound to be some bargains – in fact I already know of one that’s about to go on sale ….!
Either way it’s a great lens and highly recommended.


Top Tips for using the XF10-24
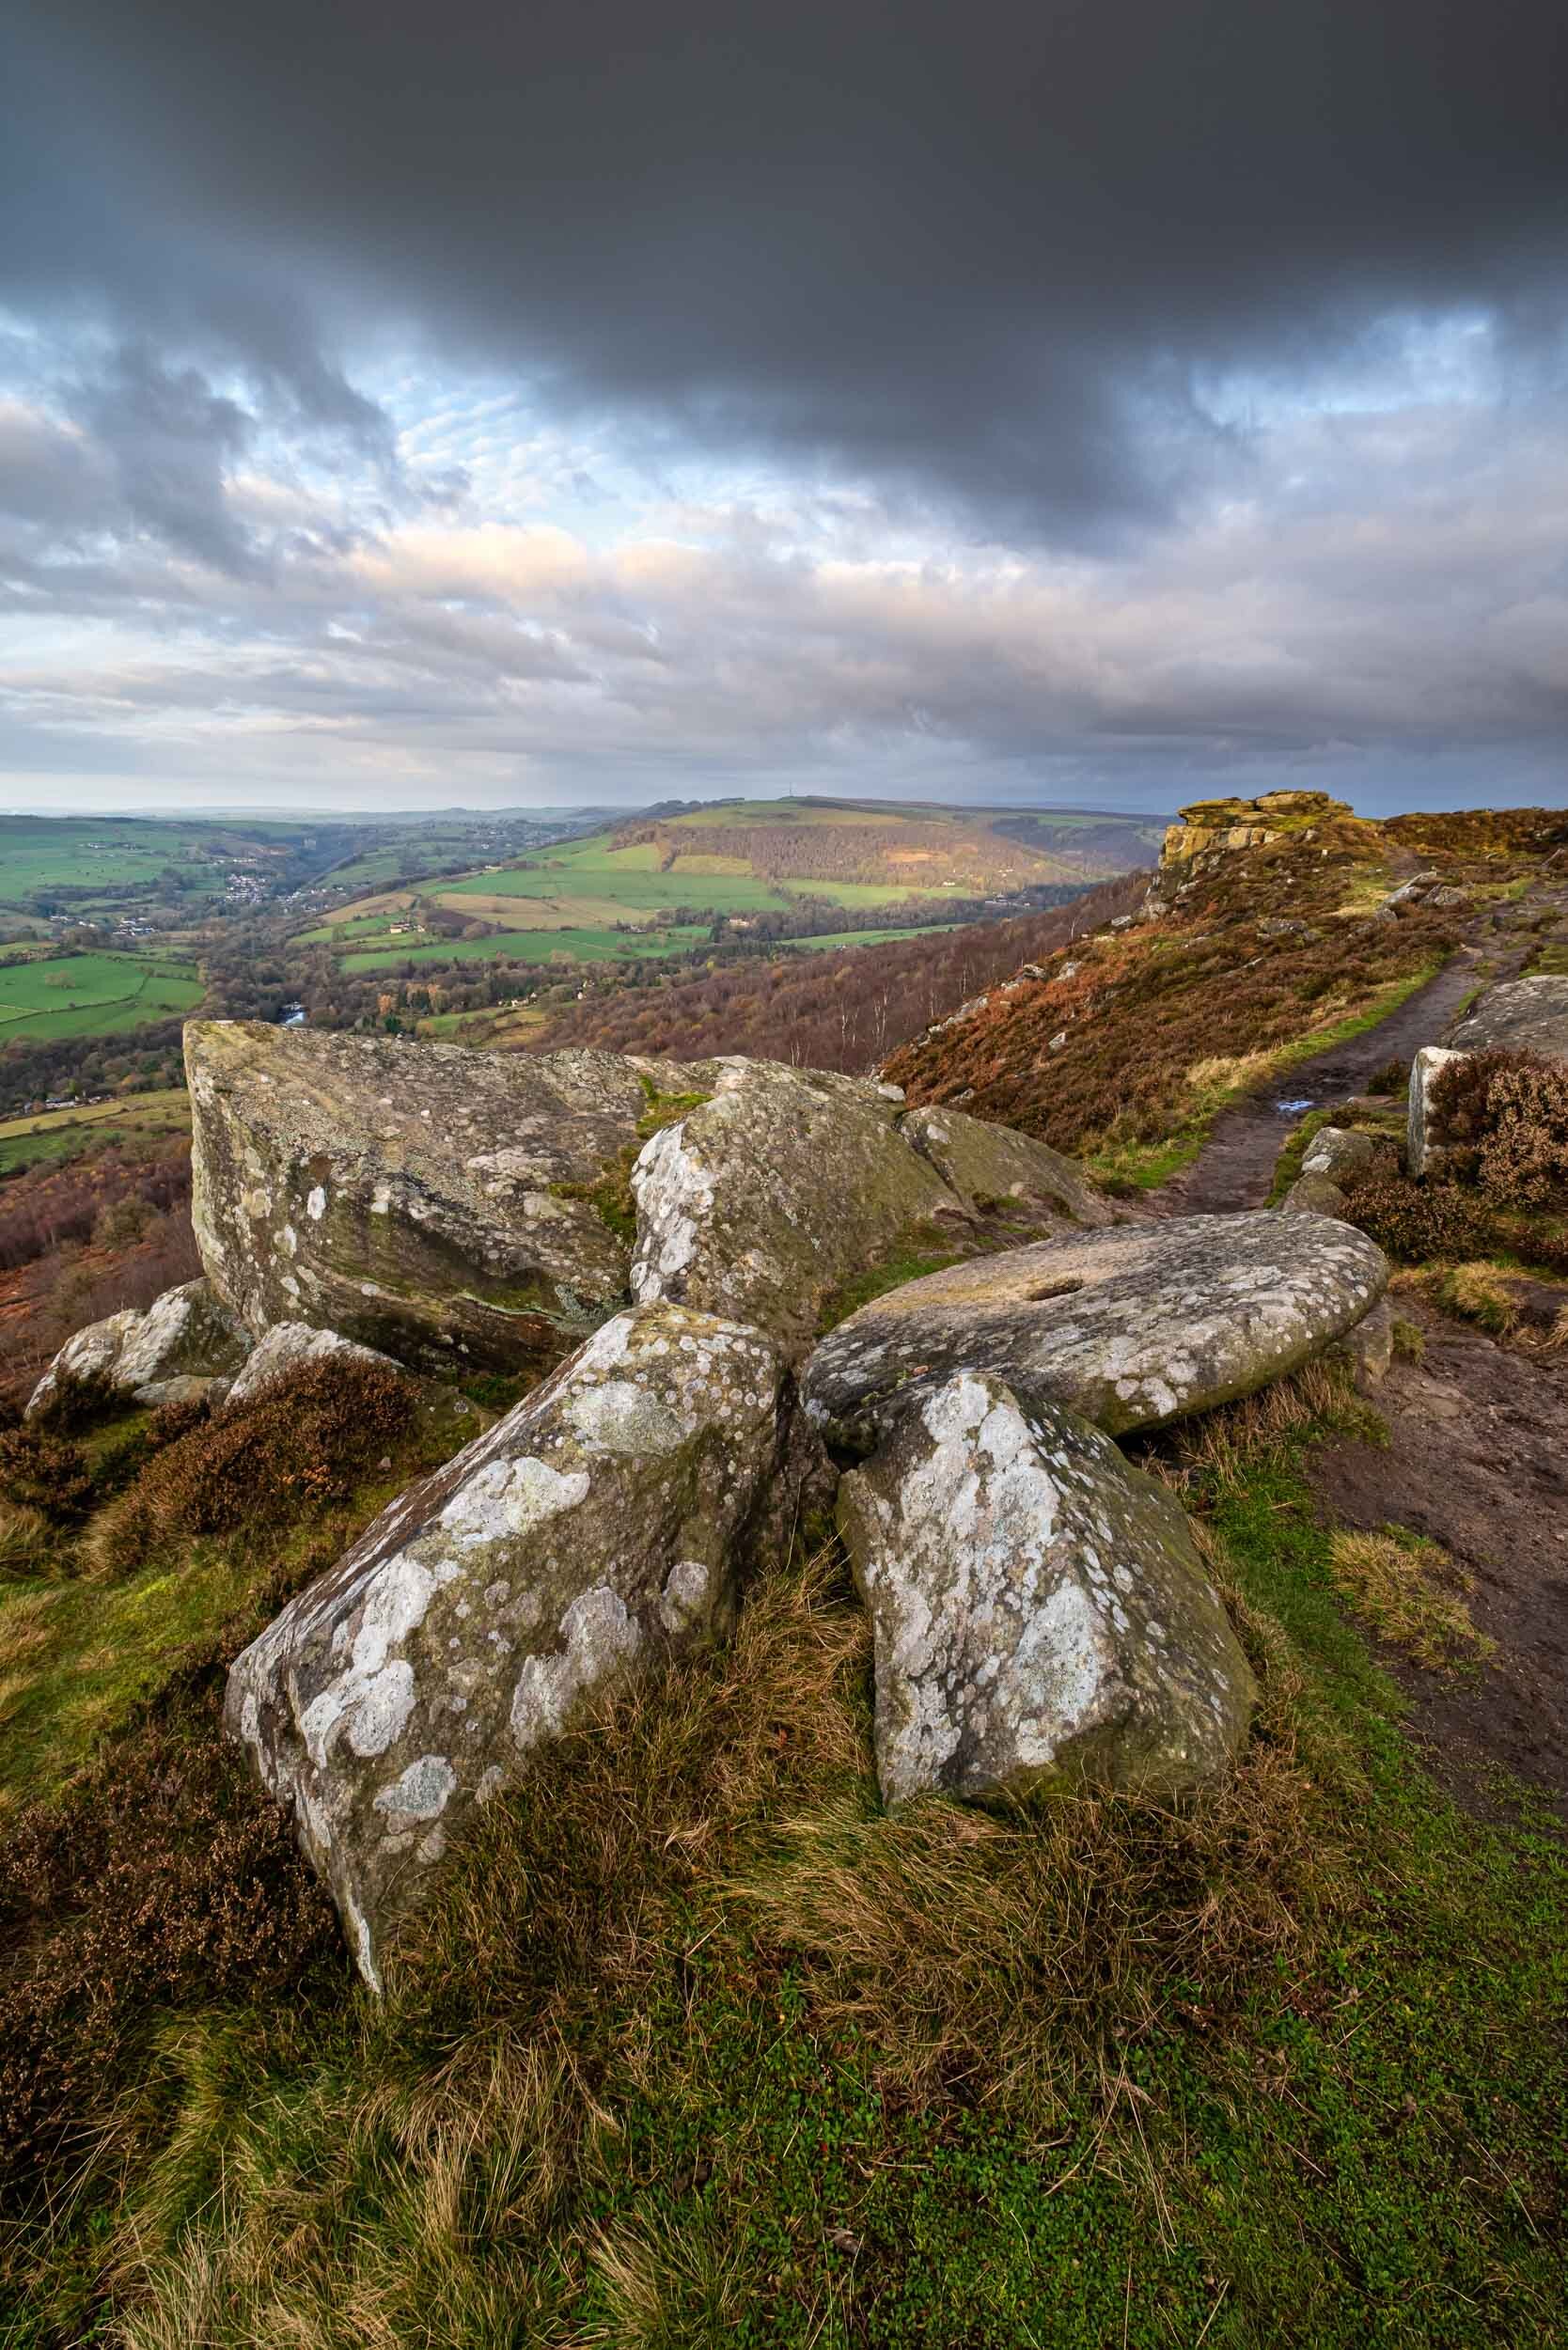
Compose with care. The key with landscapes is to find some foreground interest. Foreground objects will look much bigger when shot close up on an ultra-wide lens so use this technique to fill the frame and create impact.
Watch out for distortion from converging verticals, try and keep the camera level in both axis. Sometimes this is not possible so my workaround is to shoot slightly wider then correct the convergence in post processing.
The flipside is to use the distorted perspective to your advantage creating images full of impact.
Try different perspectives. A low perspective can bring a more dynamic feel to the image. The flip out screen on your camera really helps to fine tune the composition.
Move closer : our eyes have a focal length of around 43mm so when we use an ultra-wide angle lens distant objects seem further away and smaller in the frame so if you can move closer to fill the frame it will help.
Take care when using Polarising filters. Because of the extreme wide angle of view blue skies can get polarised differently across the frame creating dark spots, which can be difficult to correct in post. The best advice is not to use these filters at the shorter focal lengths.
This lens is great for environmental portraits, though take care not to get too close to their face, they won’t thank you for the distortion!
Avoid using the lens for shooting Panorama’s at the shorter focal lengths due to the distortion. You are better to shoot vertically at the longer focal lengths.
When shooting into the sun remove filters and keep the front element spotlessly clean to avoid lens flare.
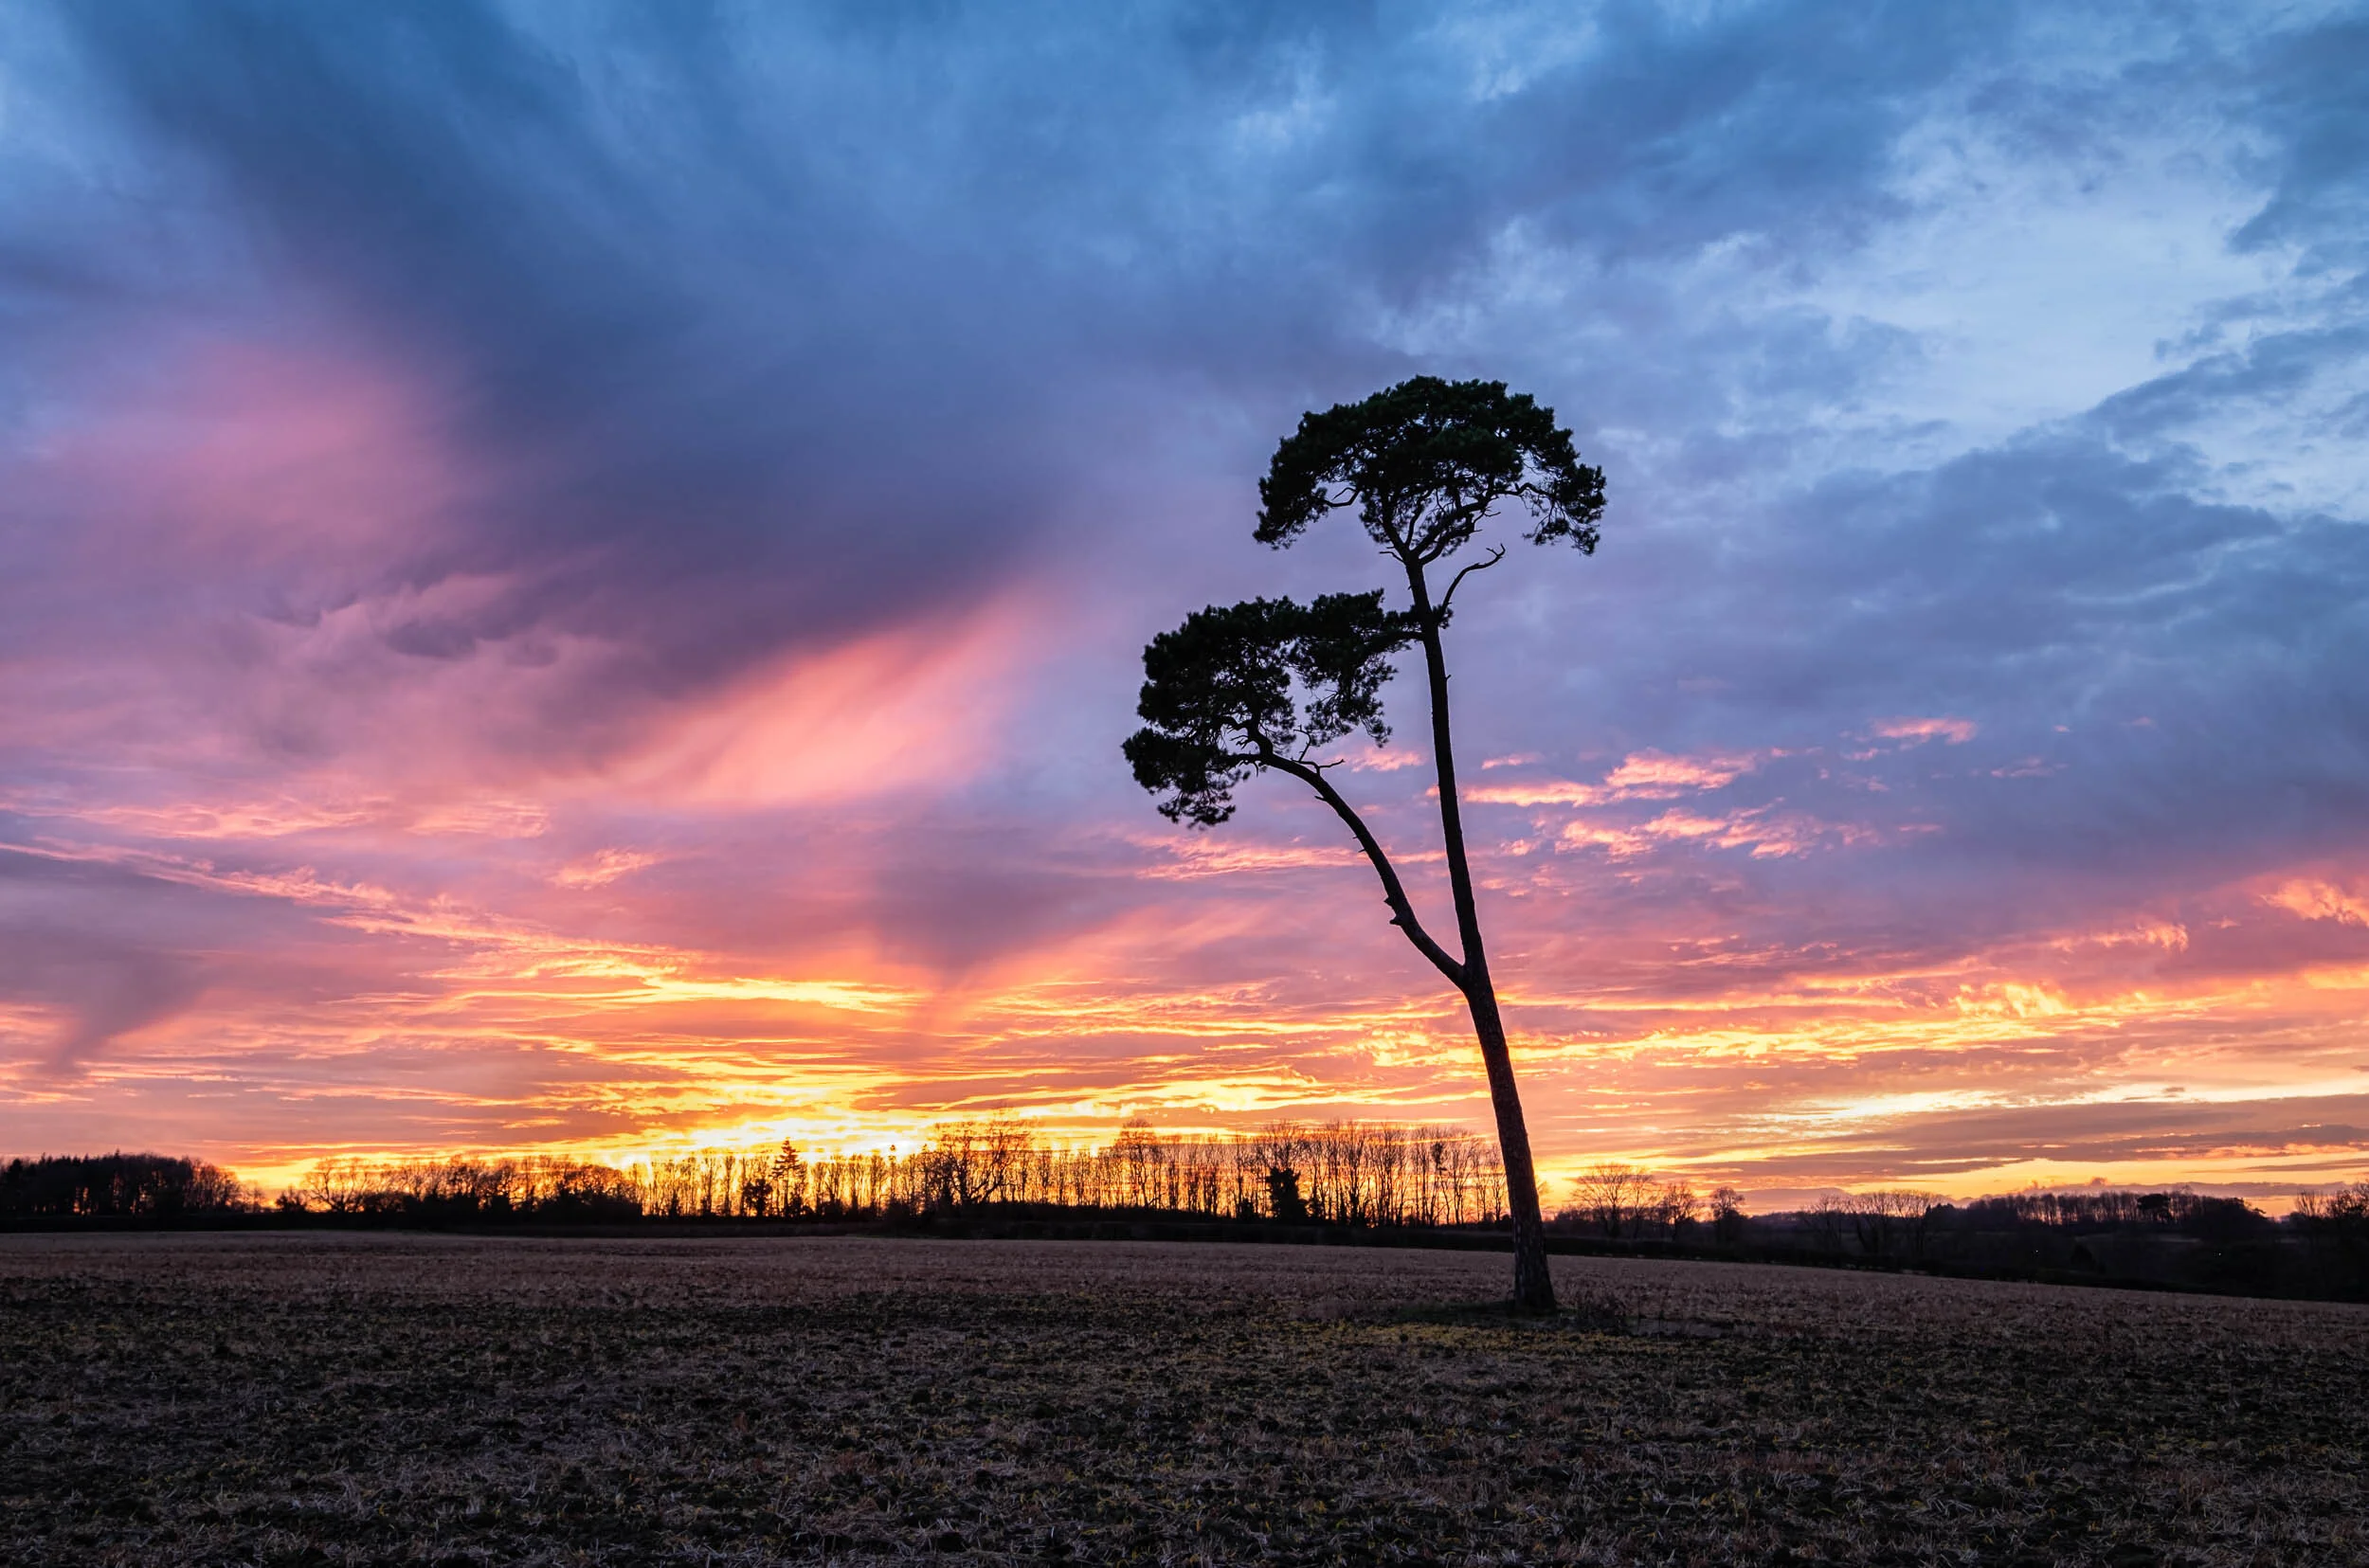
ALL LANDSCAPE IMAGES SHOT ON FUJINON XF10-24 f4 OIS WR
www.chrisuptonphotography.com


